Browsing Category

Playroom

Playroom/ Toys

How to Transition to Open Ended Toys

This is a question I’ve been getting asked a lot lately, so I finally sat down and thought about actionable steps that you can take with your family to make the transition; because sometimes “just do it” is super vague and overwhelming.

PURGE

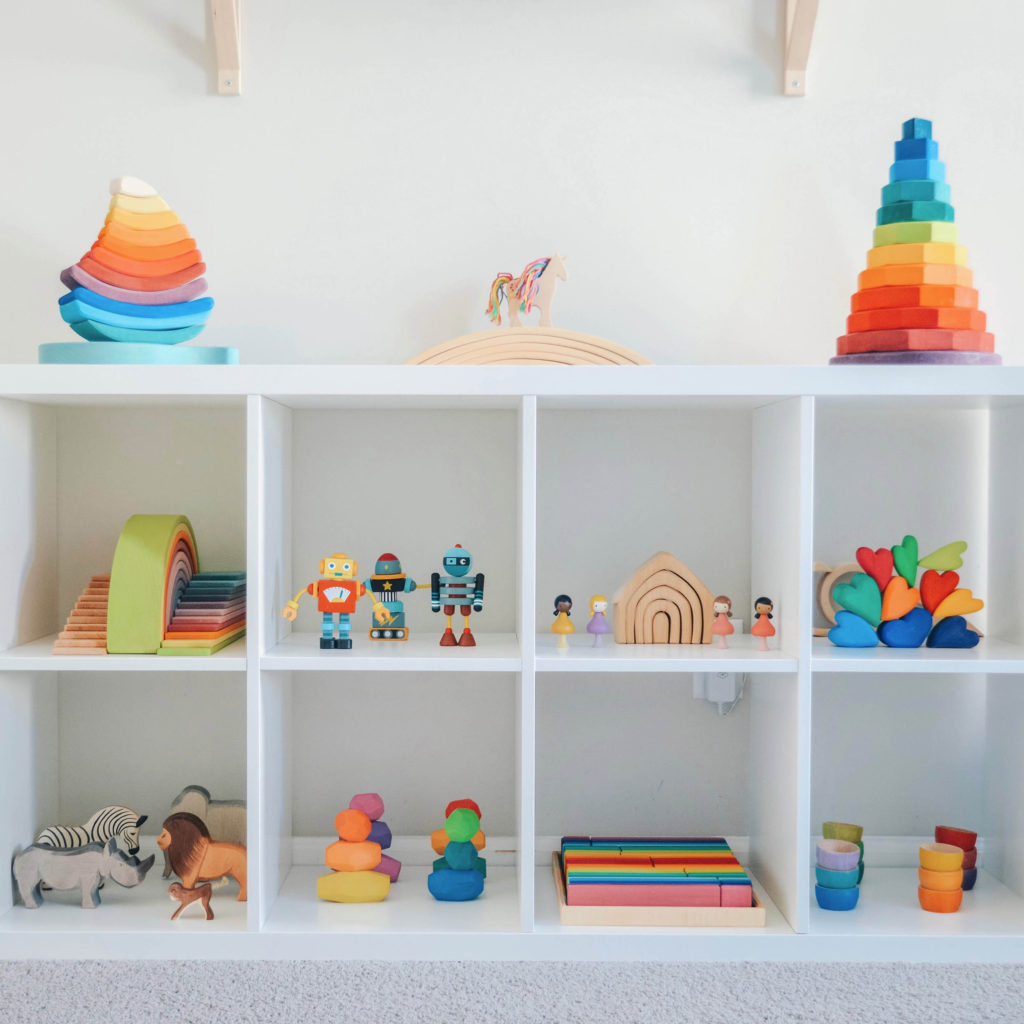
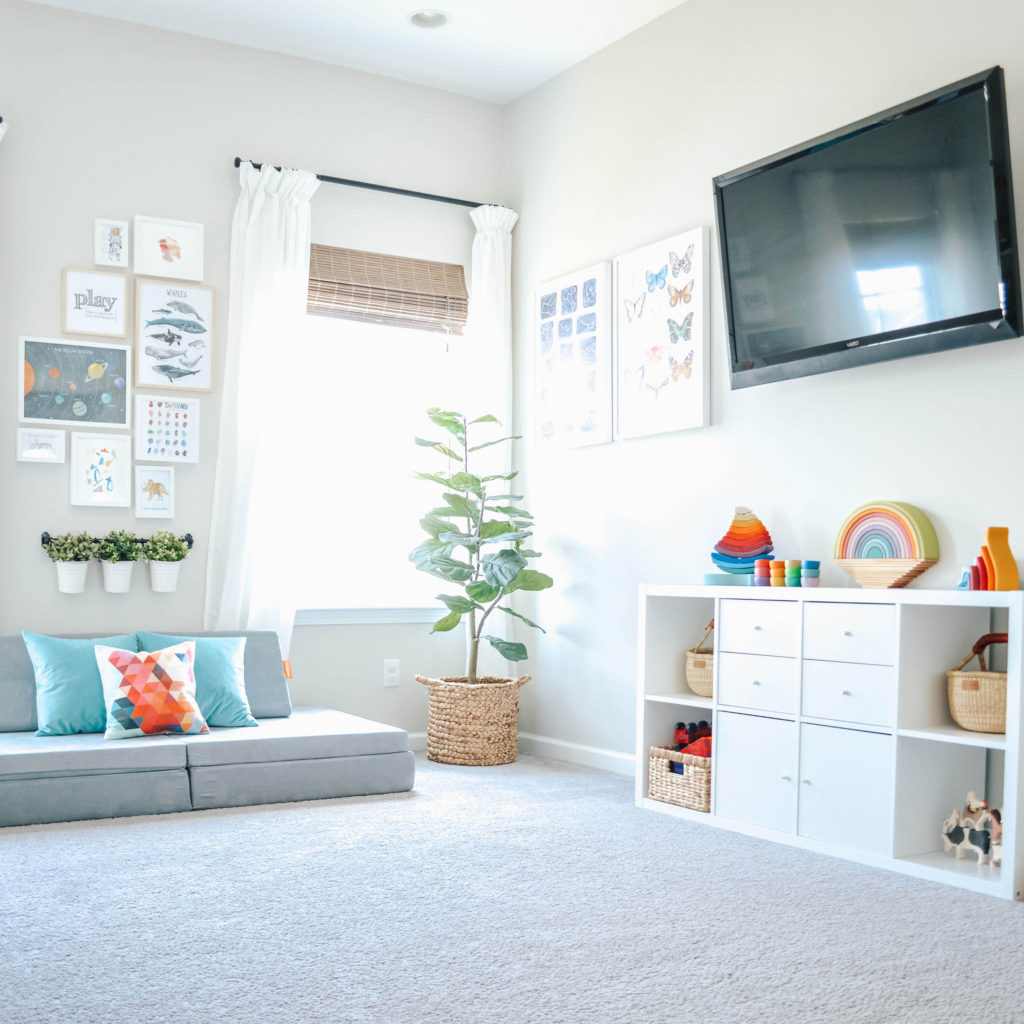
To start, you’re first going to need to assess the current toy situation. Go collect all the toys from around your house and put them in a common area.  Overwhelmed? Then your kids probably are too when they go to play. So from here, you’re going to sort them into 3 piles. 

  1. Toys that are either broken or that your kids have outgrown. Sell, give away or throw these out.
  2. Toys that you would never consider giving away, either because they hold sentimental value (eg. they were your toys as a kid) or because they are your kids’ absolute favorites.
  3. Everything else.

Now go through that third pile with a really critical eye. Are there unnecessary multiples? Have your kids not played with it in a really long time because their interests have changed? Do you think this toy will make the toy rotation cut after 4-6 weeks? If the answer is no, get rid of it now and start to simplify.

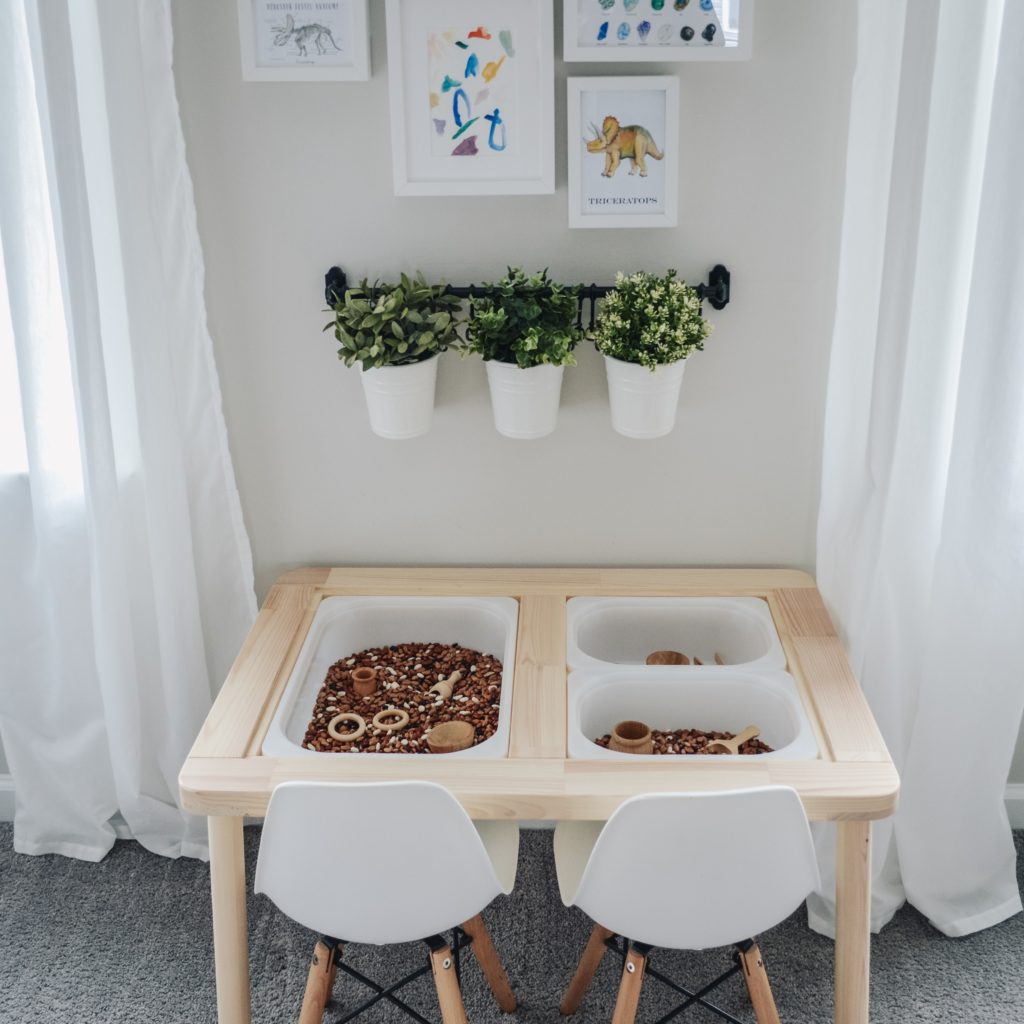
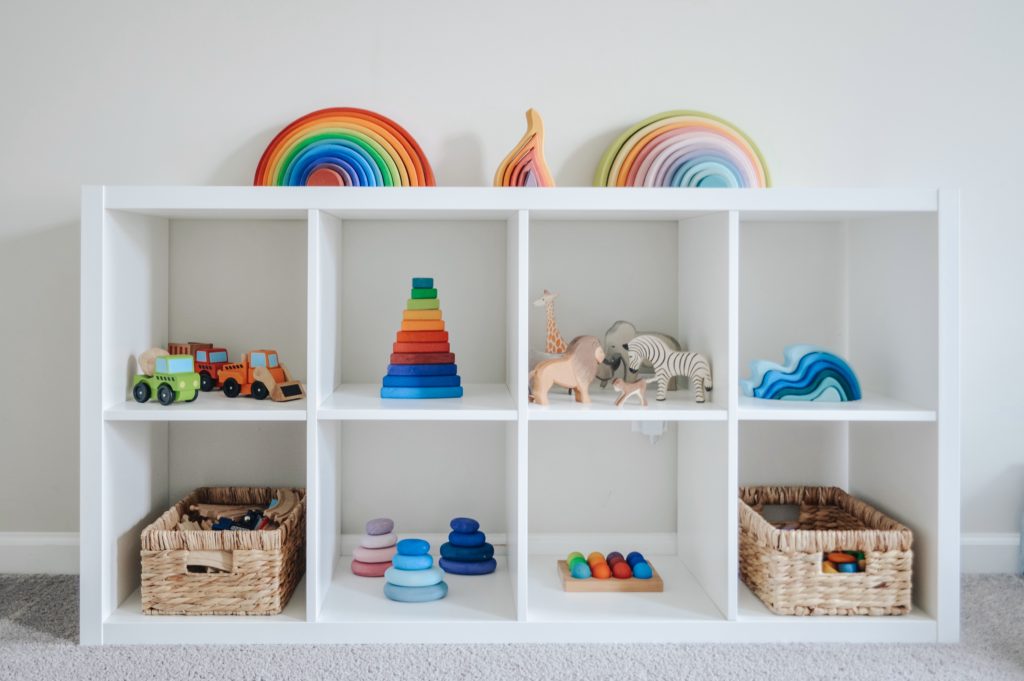
UTILIZE TOY ROTATIONS

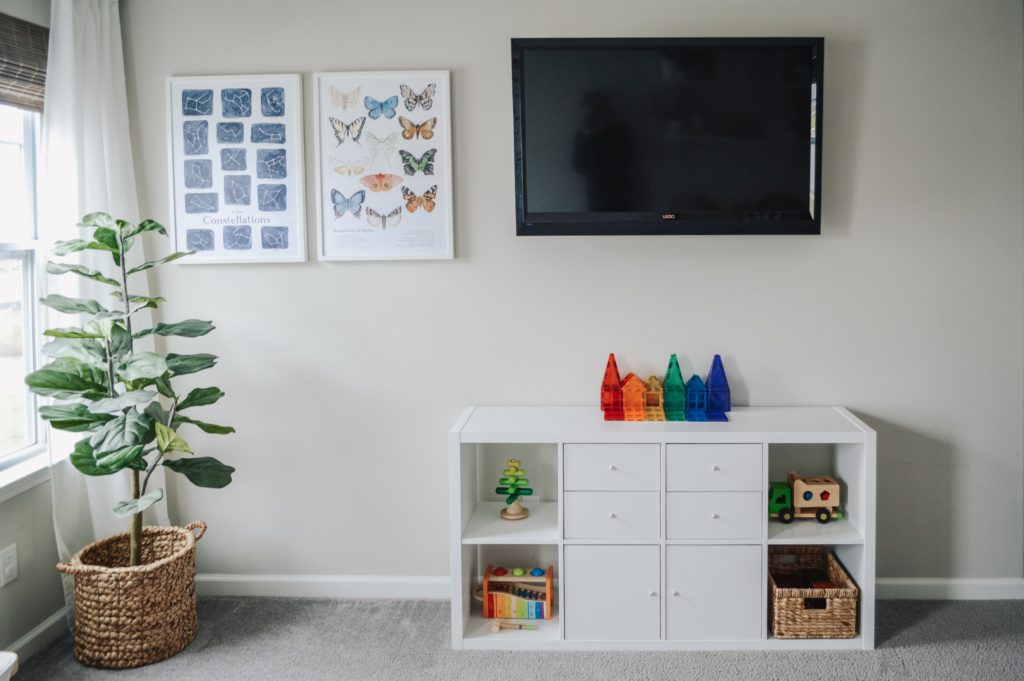
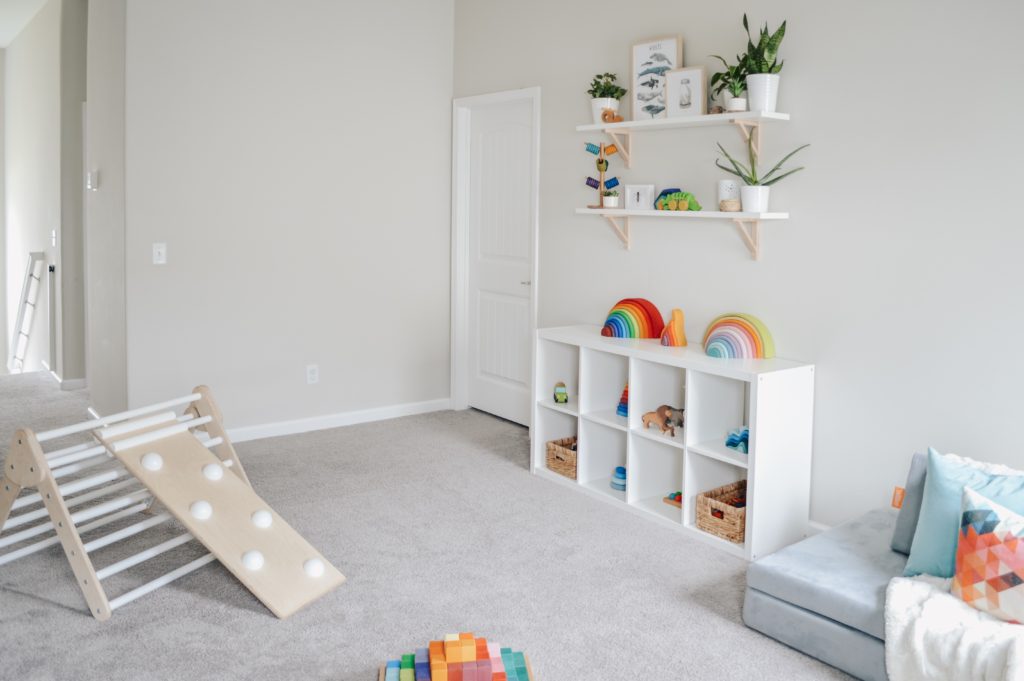
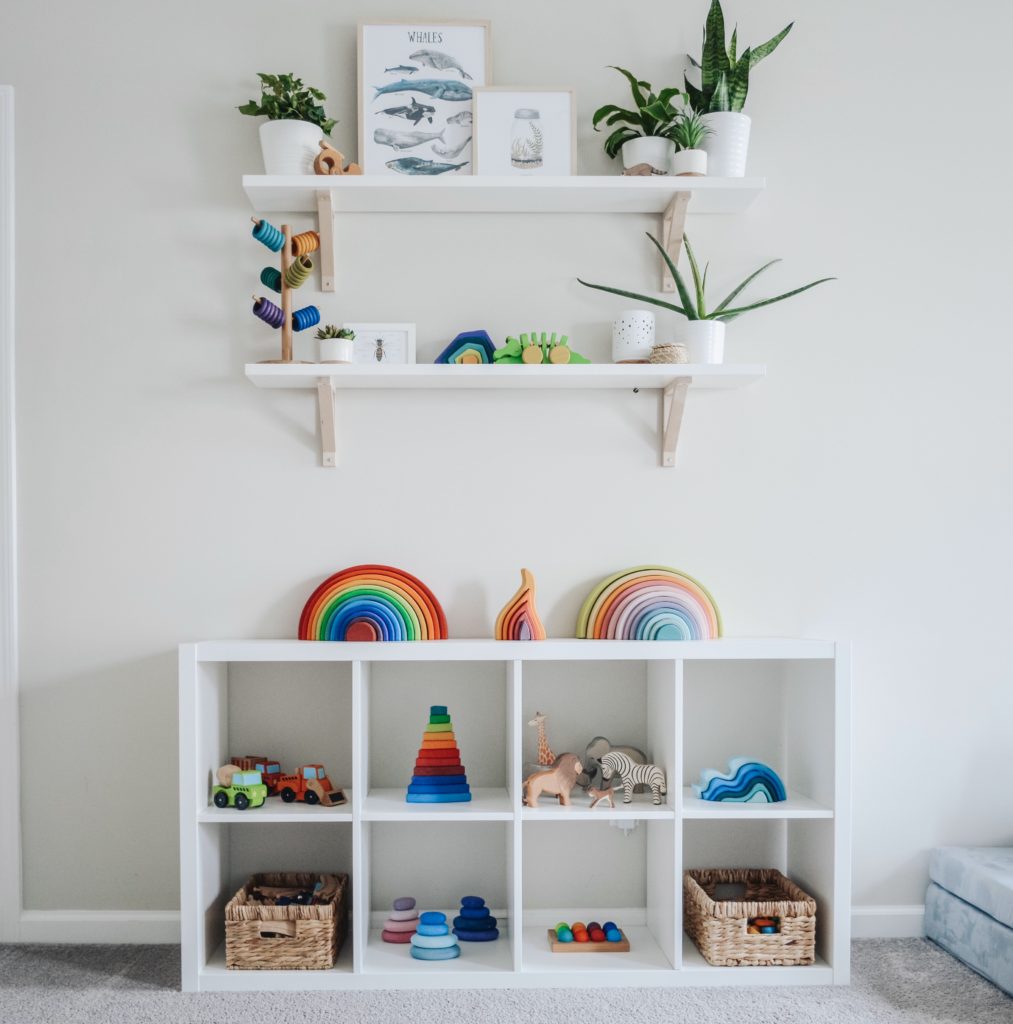
Next, you’re going to implement toy rotations.  To do this, put everything in the two keep piles away (we use these bins for storage), except for approximate 4-15 toys, depending on the number of kids in your home. 3-4 toys per kid is a good place to start. This is going to give you a better idea of what toys are actually being played with and what toys are just taking up space and causing a mess.  Do this for 4-6 weeks, rotating toys every 1-2 weeks.  At the end of the 6 weeks, take all the toys that never made it out/were forgotten about/ or never got played with, and donate or sell them.  The exception here is the sentimental toys. If those never made it out or have been forgotten, decide if you’re okay with them being packed away until there is another kid or until you have grandkids one day; or if they would be better used by someone close to you who has kids.  Aren’t you feeling lighter and less overwhelmed already?

BUYING NEW TOYS

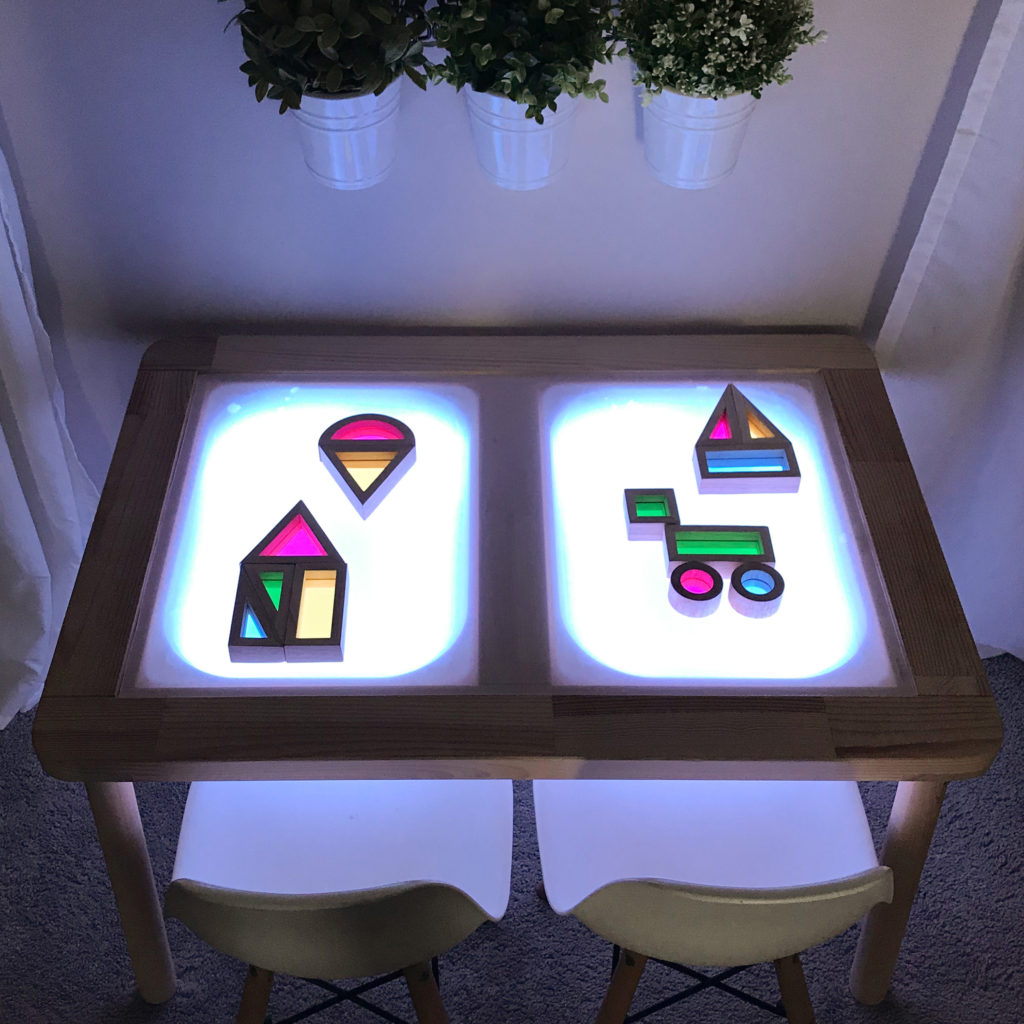
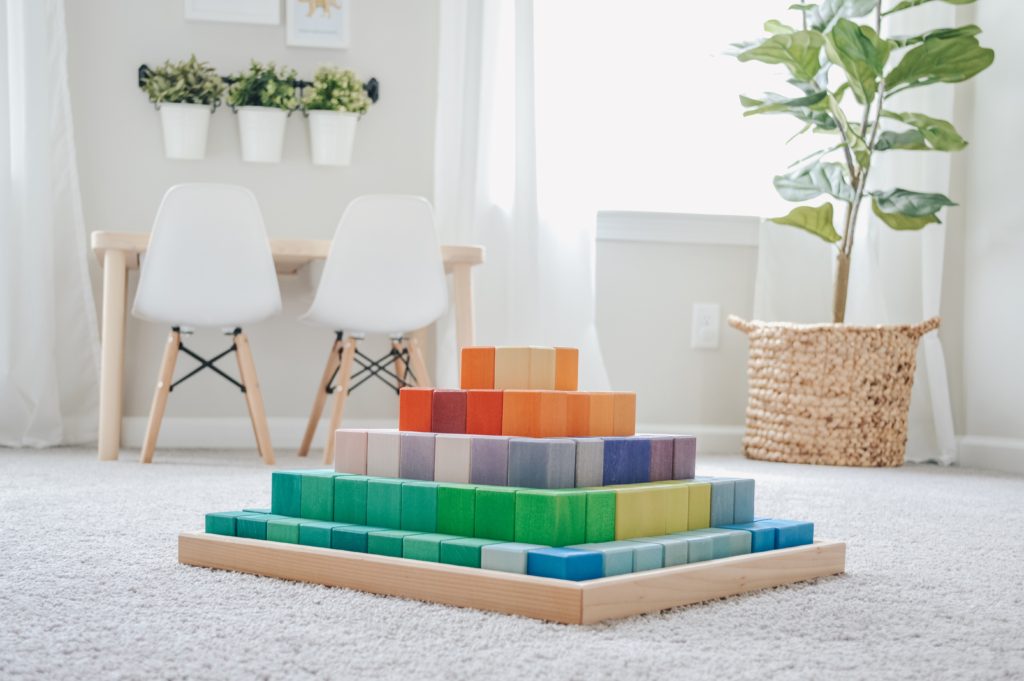
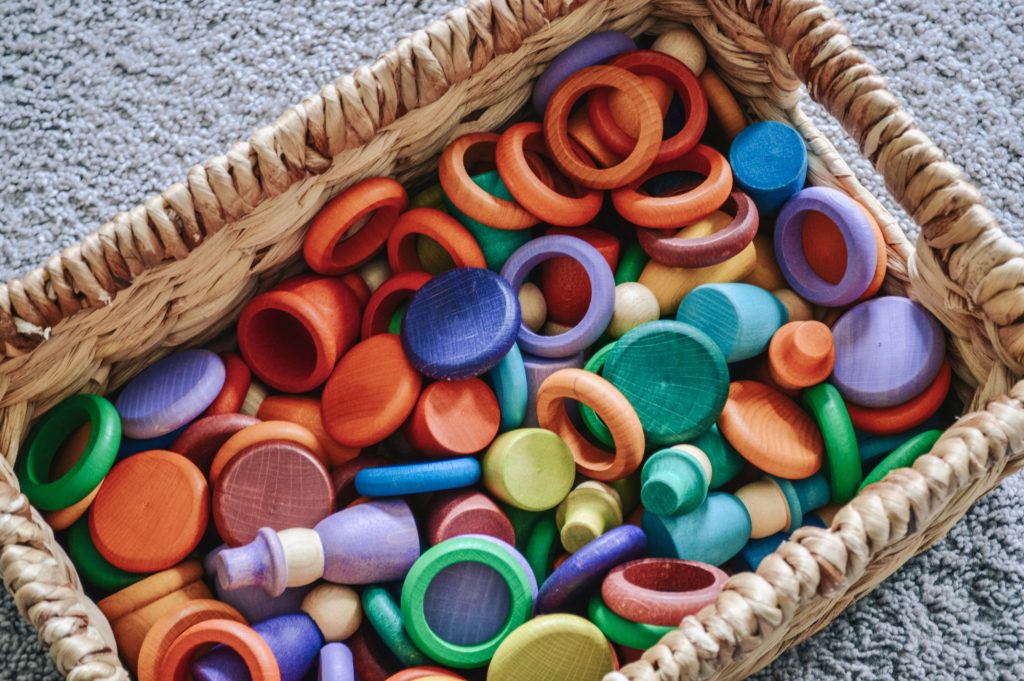
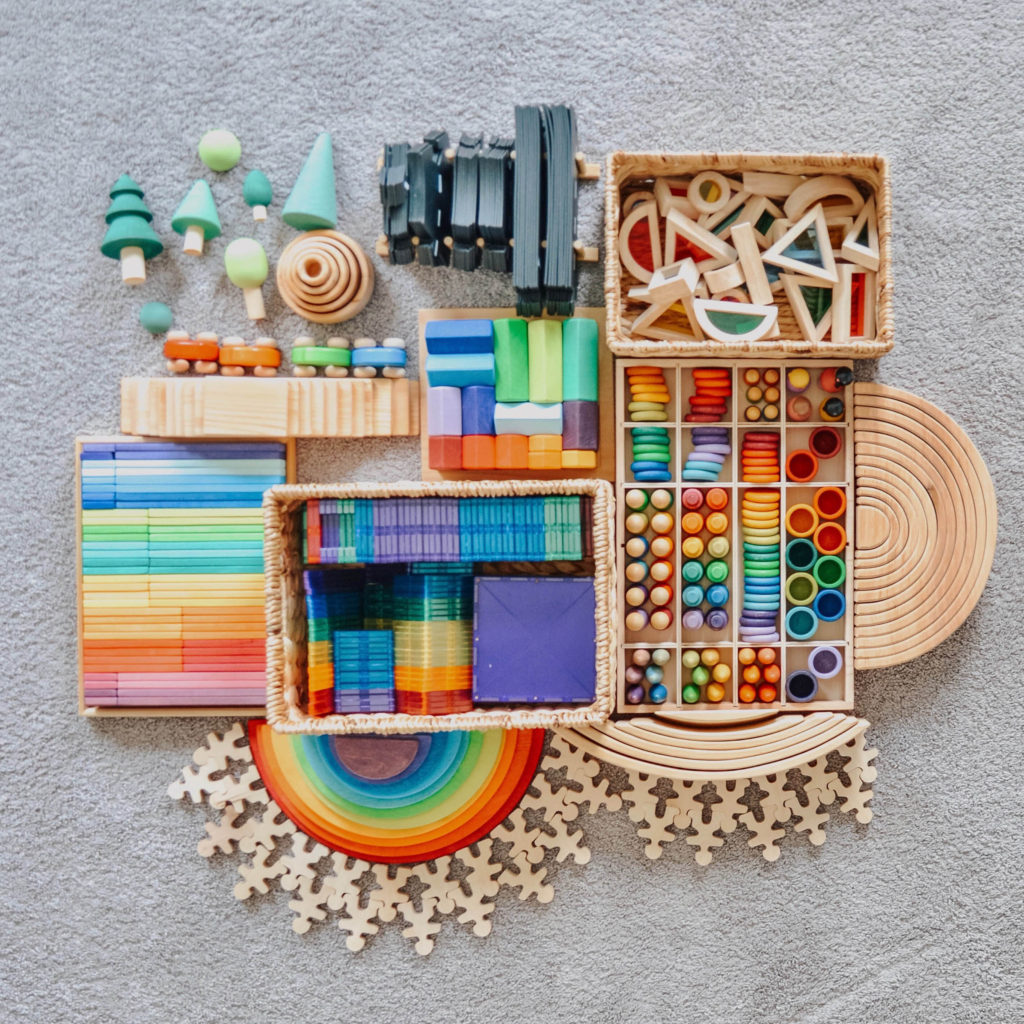
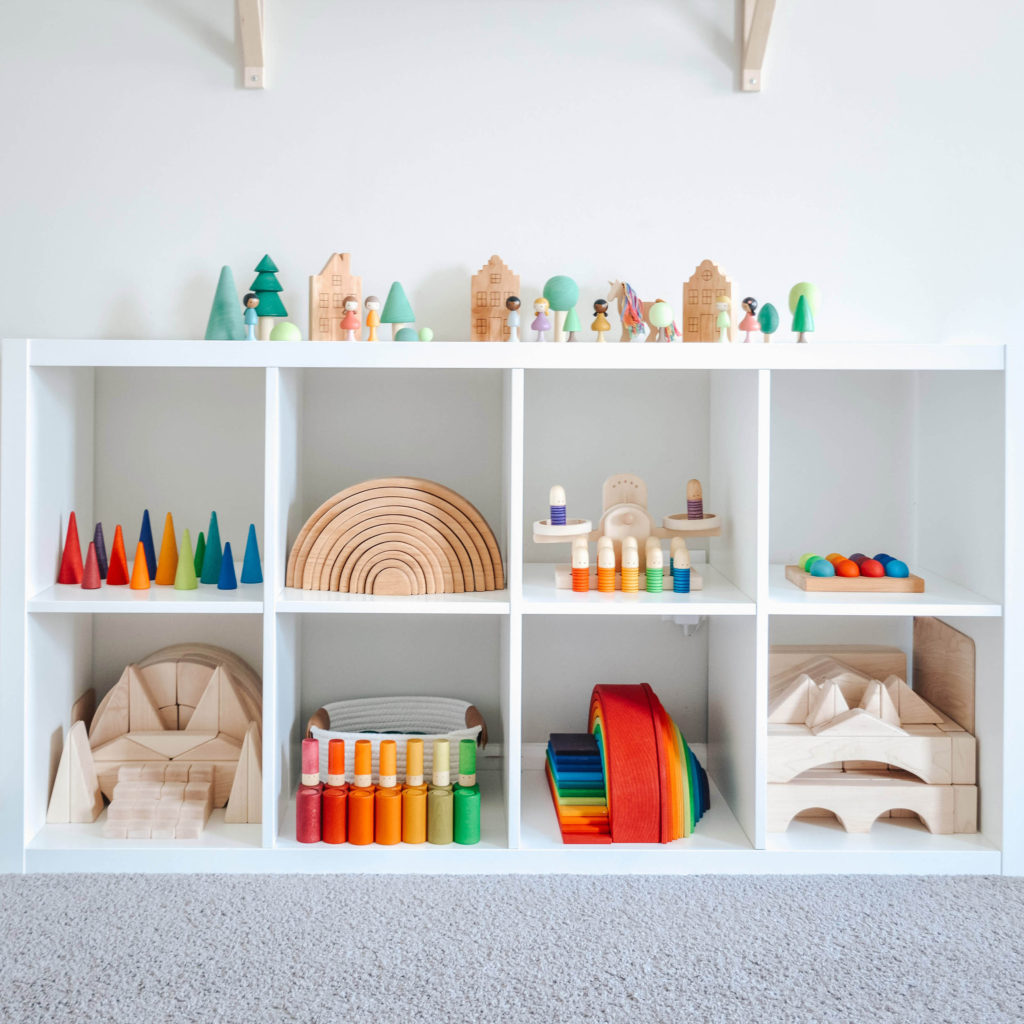
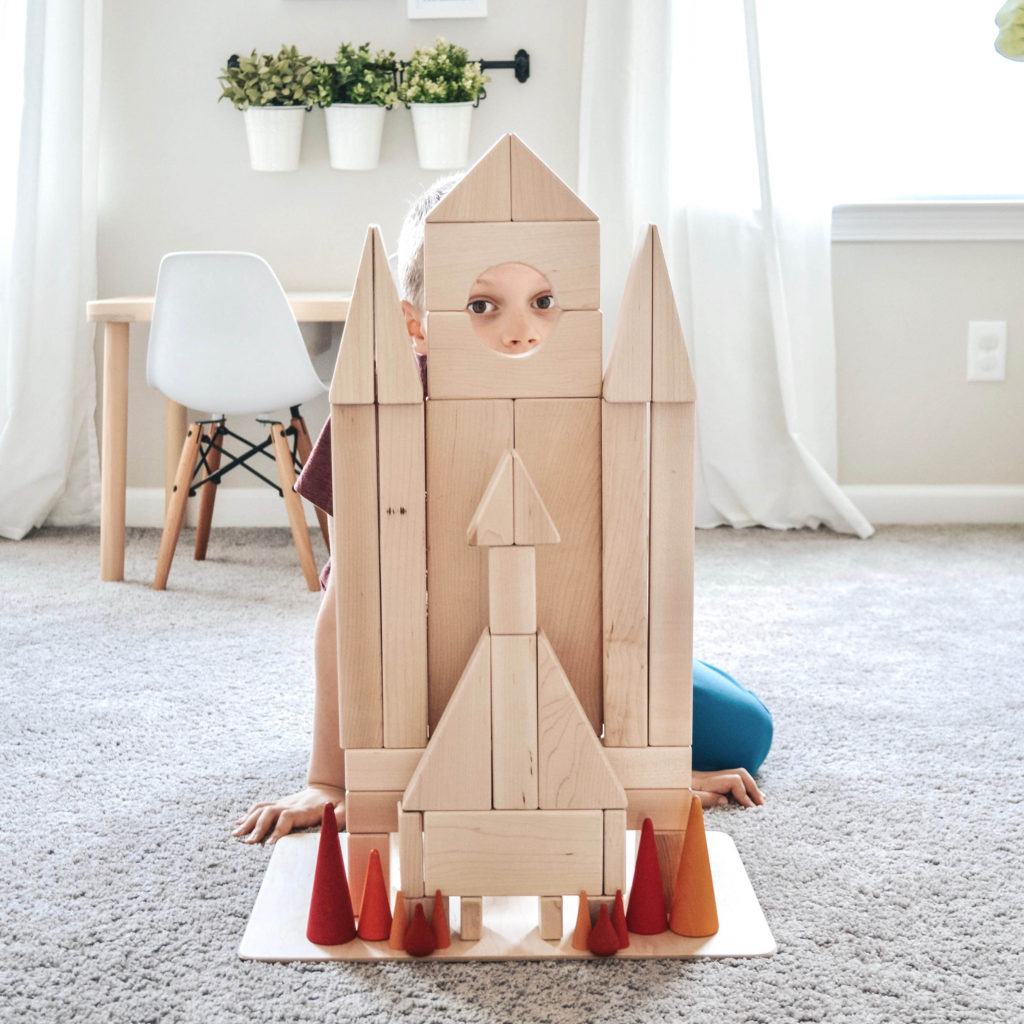
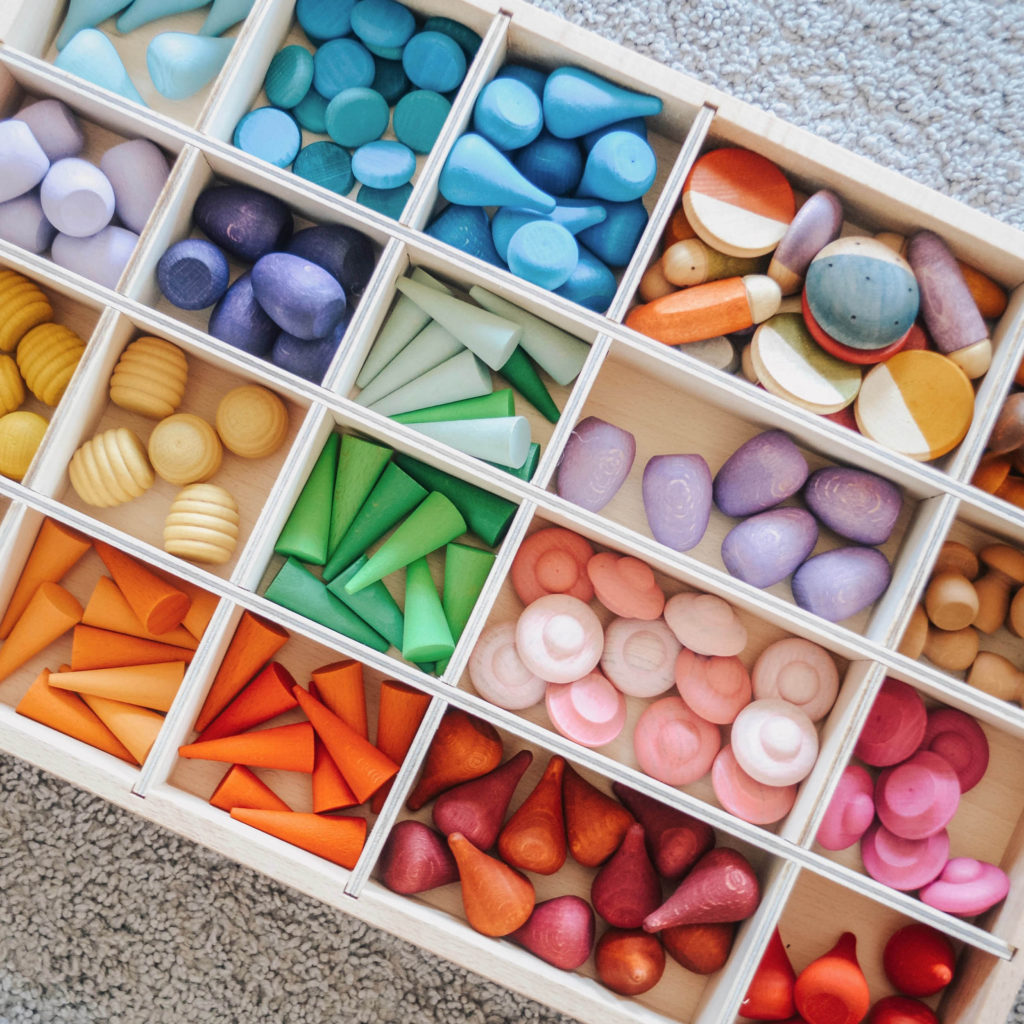
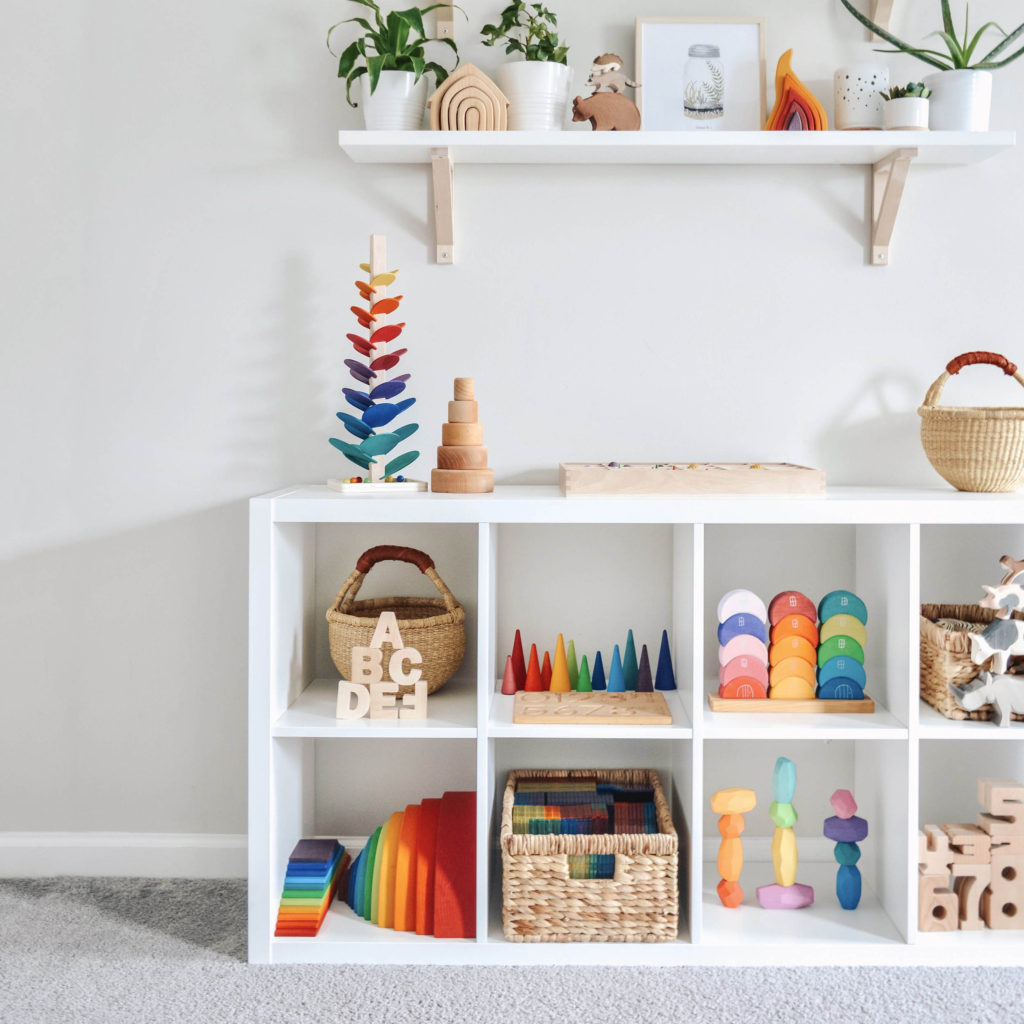
Now, which toys got a lot of play? Which toys were they begging you to take out? Which toys were never put away during those 6 weeks?  Those are the toys you need to look into finding open ended options for first.  If there are no alternatives (because it’s the beloved paw patrol collection for example) that’s okay.  Work to find toys that they can use in conjunction with those favorites, like a stacking rainbow, bridges, or blocks that they can use to build a lookout tower.

Repeat, repeat, repeat.  Slowly over time, you can add more toys to your collection, by looking for the favorites, finding open ended alternatives and then REPLACING.  This is key.  Don’t just add the new toys to the pile, actually get rid of the close ended or unused toys, while you’re thinking about it.  Sell those toys on Facebook Marketplace to pay for new ones.

Sometimes you’re going to get rid of or sell 3-5 toys and you’re only going to replace them with 1, that is okay. Your kids don’t require a ton of toys to have fun, that is one of the benefits of open-ended play.

Around here, I am always assessing what toys are being asked for and which ones are getting played with- even our open ended toys.  Sometimes a toy that was super popular and recommended by a ton of people in the wooden toy community just doesn’t jive with my kids.  That’s okay. Chances are it’s still in great condition and I can sell it at or close to what I paid for it (search for wooden toys b/s/t groups on facebook to get the most bang for your buck on resale).

COLLECTION COMPLETE

Here’s the kicker, once you feel like your kids have a great collection (minimal or not) STOP BUYING TOYS. Use birthdays, Christmas and special occasions to gift experiences, save up for a big ticket item, or take a family vacation. Don’t just buy “stuff” for the sake of buying stuff. That’s how playrooms fill up and become overwhelming to kids and parents alike.

So what do you think? Was this helpful? What actionable step stood out the most to you? I’d love to hear your thoughts.

And as always, happy playing!

This post contains affiliate links. Thank you for supporting what we do!

Playroom

DIY Light Table

When we first got our IKEA Flisat table, I knew immediately that I wanted to find a way to add a light table option into the rotation.

Light tables are great for introducing a different sensory input to play, as kids are naturally draw to the glow of the lights. Suddenly, those window blocks and magnetic tiles take on a different form of play and you don’t have to depend on the weather outside. They are also great for art activities.

My only requirement for this IKEA hack, was that it had to be easy to remove and store, so that I could rotate it in and out.

If you already have a Flisat Table, this hack should take you about 10-15 minutes once the supplies are gathered.

SUPPLIES

DIRECTIONS

To start, drill a 5/8″ hole in one end of each Trofast bin, approximately 1” from the bottom. Clean the inside and the bin and wipe down with rubbing alcohol (soap and water will do if you don’t have rubbing alcohol) and let dry.

Now, take the LED strip and dry fit it (so don’t remove the backing) around the inside of the Trofast bin, starting at the hole you just drilled. Cut it on the marked line (which is every 3 lights, and indicated by the orange dots) that is closest to the hole on the other side, without overlapping the two pieces. Don’t worry if the ends don’t touch, as long as they’re within 2-3″ of each other, you should be fine.

From here, thread the end of the LED strip you just cut, through the hole going from the outside of the bin, in. Pull it all the way through until you get to the first light before the connection piece. Now carefully remove the backing of the LED strip, starting at the connection and moving towards the cut end. Remove 2-3″ of backing at a time, and gently stick the LED strip to the inside of the Trofast bin, about 1″ from the bottom. Try and keep it as straight as possible. Once the whole strip is stuck down, press it more firmly in place. Congratulations, your first bin is complete!

For the second bin, you are going to need to attach an LED connector strip to the end that you cut. Pick the one that is white on one end and black with the 4 prong connector on the other. Open up the two white tabs, line up the wires with the correct color on LED strip (Black, Green, Red, Blue), and remove a small section of the backing. You can pull the metal tabs up a little if you’re having trouble sliding the strip underneath them, just make sure to firmly press them back down when you’re finished. Once they’re in place, close the white tabs to complete the hook up.

Once again, dry fit the LED strip around the inside of the Trofast bin, and cut it as close to the opposite end as the strip will allow (remember you can ONLY cut the strip at the marked spots or it won’t work) without overlapping. Feed that end through your hole from the outside in and then gently attach the LED strip to the inside of the bin like you did with the first one. When you get to the end, press everything down firmly. Bin 2 is now complete!

Now to connect everything to the electrical outlet. First place the bins into the Flisat table with the connection hookups on the same side. Add one of the 4 pronged attachment pieces into the connector strip if there isn’t one. Next, take the two black ends and connect them into the white splitter making sure that the arrows on both the black piece and the white splitter are lined up together. Plug the 3rd end of the splitter into the white Control Center piece, adding a 4 prong attachment if necessary. Lastly, hook the Control Center into the Power adaptor and plug into the wall. Use the remote control to turn on the lights. Both bins should now be lit up. If they’re not, double check that you’ve attached all the connections in the right order (with the arrows lining up).

The very last thing you will need to do is make the frosted top that goes over the bins and turns it into a table. I used the clear acrylic from an Ikea Ribba 20″ x 28″ frame and just cut it down to size using a good pair of scissors. Be mindful of the fact that this acrylic isn’t the strongest, and is more likely to crack while cutting, or if your kid decides to get super rough while playing. Another (and probably better option) is to go to Lowes and buy a sheet of clear acrylic. While at the store, have them cut the piece to 27 7/16″ x 17 9/16″ (they should do this free of charge). If your sheet has a clear film on it without any markings. You’re done. Just take it home and pop it in the table. Otherwise, you can buy a can of frosted spray paint and spray both side of the acrylic sheet; letting the first side complete dry before flipping it over to do the second. This step helps protect the eyes of the person playing with the light table, so I personally wouldn’t recommend skipping it.

And there you have it, your very own light table. Remember, a light table works best in a dark room, away from windows and natural light. These particular LED lights also have a dimmer, which allows you to adjust the brightness (and color) of the lights depending on the brightness of your room.

When you are finished playing, remove the Acrylic sheet and then place the splitter, control center, and the power adaptor into one of the Trofast bins along with the remote control. Remove both bins from the Flisat table, stack them, and store everything until the next time you wish to use the table.

I’d love to see it how your table turns out; so don’t forget to tag me over on instagram.

Happy Playing friends!

Playroom

Setting Up a Child Friendly Playroom

Let’s talk play spaces and setting up one that will not only get used, but will also look good and go with the atmosphere you are trying to create in your home.

The following concepts are things I tried to keep in mind when designing my kids’ playroom. I don’t rigidly adhere to any one philosophy of learning/education, but instead draw on aspects of Montessori, Waldorf, and Reggio that fit with my own beliefs and children’s preference for play and learning.

And fear not, if you don’t have a space to designate as a playroom, you can still use these concepts to set up a corner or play space wherever room allows.

1. PICK A NEUTRAL COLOR PALETTE

Keep wall colors, shelving and furniture neutral. Toys are bright and enticing all on their own. Let them be the star of the show, not the walls.  Picking neutral colors also helps keep the atmosphere calm and relaxing, and helps kids concentrate better.

Walls: Agreeable Gray || Nugget Comfort: Koala

2. CHOOSE NATURAL LIGHT

If at all possible, choose a place that gets a lot of natural light, especially because you will be spending a lot of time in here.  This not only boosts Vitamin D, wards off seasonal depression, and improves sleep; but it also gives kids a chance to look out the window and discover what is going on in the world around them. Consider placing a stool at the window if they’re too high for little ones to see out of (like this one, and a can of spray paint if yellow isn’t your color).

3. KEEP IT SIMPLE

You’ve heard me say it before, but a playroom/space full of toys and clutter actually deters play more than it encourages it. Ever walk into a store and seen so many options that you just turn around and leave because you’re overwhelmed? The same happens to your kids when they look at their play options. Keep fewer toys out (3-4 per kid) and keep the space free of extra clutter. 

Along with this, it also helps to have a closet or other storage area to keep toys that are not in rotation organized.

Art

4. PROVIDE LOTS OF OPEN SPACES AND SHELVING

Leave space for play! This is one of the reasons you’ll often see shelving and furniture around the outside of the room, because it leaves a wide open space in the middle for play to happen uninhibited. Using open shelves gives space to display toys and allows kids to see what’s available for play; and leaving the tops of shelves clear, provides an area to build; especially if you have kids of varying ages who like to destroy, more than they like to build.

Great shelving options: 1 | 2 | 3 | 4 | 5 |

5. KEEP THINGS LOW AND VISIBLE

Pick furniture pieces with a child’s height in mind, because it allows them to be more independent, and they can see their options more clearly. Lower profile furniture also keeps children from climbing shelving to get to the toys they’re after.

Having a kid sized table and chairs gives kids a space to play that is up off the floor, but still at the perfect height for them.

Choosing baskets and trays with a low profile shows kids how pieces fit together, and gives them a place to return them to when they’re finished playing, plus it also helps control the mess.  Back when we used to use tall baskets in our cubby shelves (because they hid the giant amount of toys we had), I noticed a pattern. All the bins ended up being dumped out, because someone was trying to find something or see what toys were available.  This ended up creating a huge, unnecessary mess to clean up at the end of the day.

Something else you may choose to do, is put a shelf or two up higher on the wall to store toys out of rotation, plants, a diffuser, and other items that you want to keep out of reach of little hands.

Table & Chair Options 1 | 2 | 3 | 4 | 5
Baskets: 1 | 2 | 3 | 4
Wall Shelves: Shelves | Brackets

6. GIVE EVERYTHING A PLACE

Believe it or not, kids actually thrive when they have a routine, know what to expect and know where to find things. So give everything in your playroom/space a home- Toys, Books, Art Supplies. If your kids know where to find them, it gives them more independence to do things on their own, and encourages them to take responsibility, and keep things together.

Bookshelves || Wooden Boards

7. INCLUDE NATURE

Bringing the outdoors in helps improve mood, reduces stress, purifies the air and teaches kids how to take care of something.  So consider adding a few plants (even if they’re fake), or even a fish.

1 | 2 | 3 | 4 | 5 | 6
Basket |Faux Fiddle Leaf Tree

8. CREATE A COZY SPACE FOR QUIET PLAY

Having a space with floor pillows, a Nugget, or something similar gives kids a place to get comfy, read a book, engage in quiet play, or settle down when something has upset them.

Nugget | Pillows | Bookshelves

9. DESIGNATE A SPACE TO BE ACTIVE

Children have a ton of energy, so if they’re going to be climbing the walls anyways, why not give them a safe space to get the wiggles out?  Pikler Triangles, Rockers, Wobble Boards, Balance Beams, and the like (as space allows) all provide a physical aspect to play and help encourage the development of gross motor skills.

Pikler Triangle (here) | Wobble Board | (not pictured) Rocker | Balance Beam

10. A PLACE FOR ART

If your kids love creating drawings, paintings, or other works of art, give them a space to create and display these pieces, where you can quickly and easily rotate them out.

Picture Frames | Fintorp Art Supply Organizer

I hope this inspires you and gives you direction on how to set up a functional playroom/space that works for your family and fits your own personal style. Remember, it’s okay to pick which aspects to use and to implement them slowly, as time and budget allow. Please let me know if you have any questions!

This post contains affiliate links. Thank you for supporting what we do!