
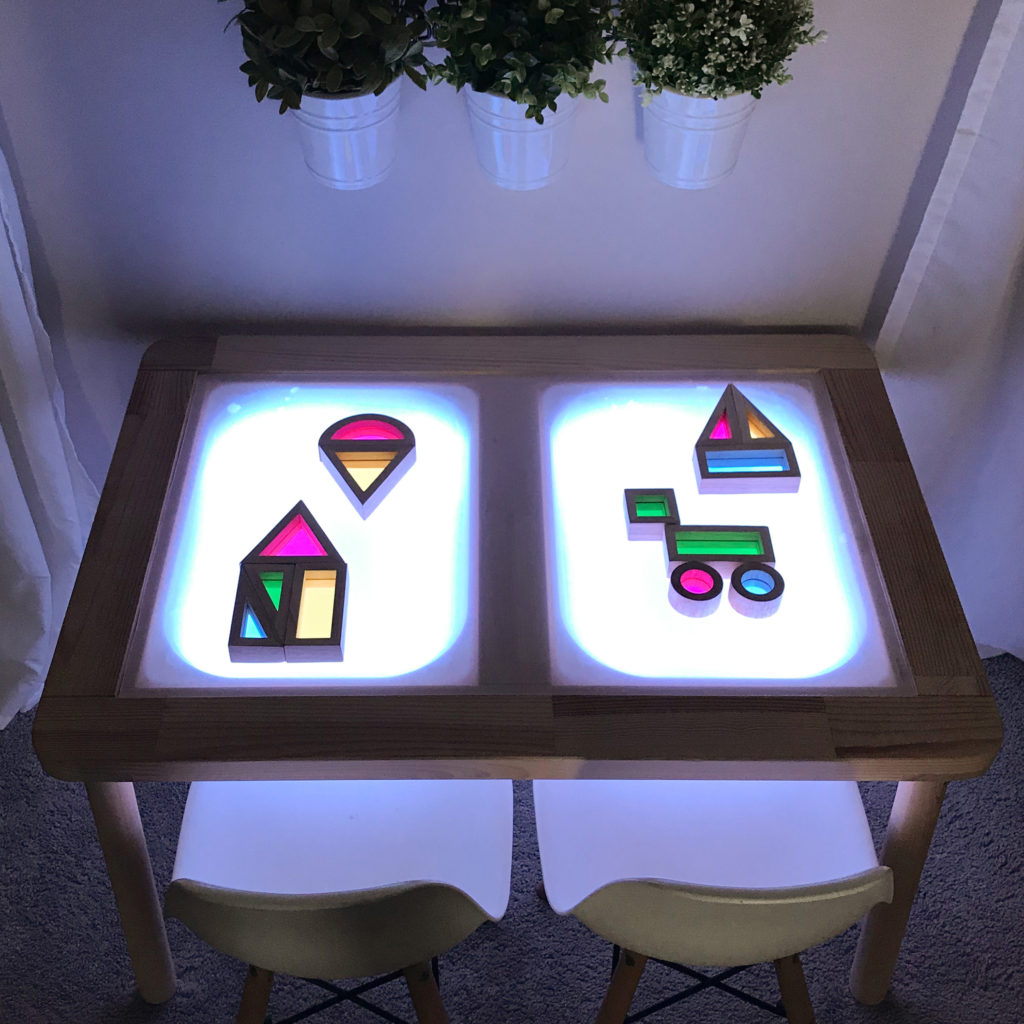
When we first got our IKEA Flisat table, I knew immediately that I wanted to find a way to add a light table option into the rotation.
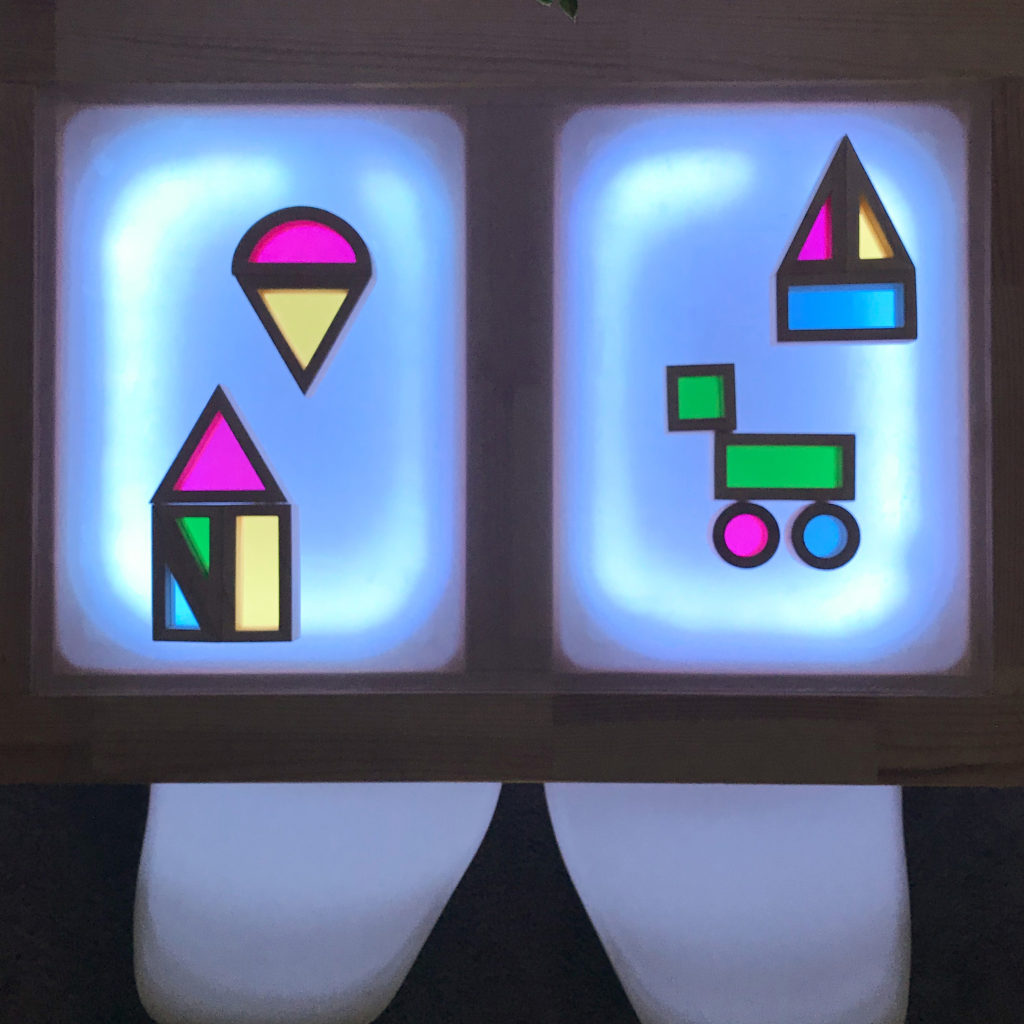
Light tables are great for introducing a different sensory input to play, as kids are naturally draw to the glow of the lights. Suddenly, those window blocks and magnetic tiles take on a different form of play and you don’t have to depend on the weather outside. They are also great for art activities.
My only requirement for this IKEA hack, was that it had to be easy to remove and store, so that I could rotate it in and out.
If you already have a Flisat Table, this hack should take you about 10-15 minutes once the supplies are gathered.
SUPPLIES
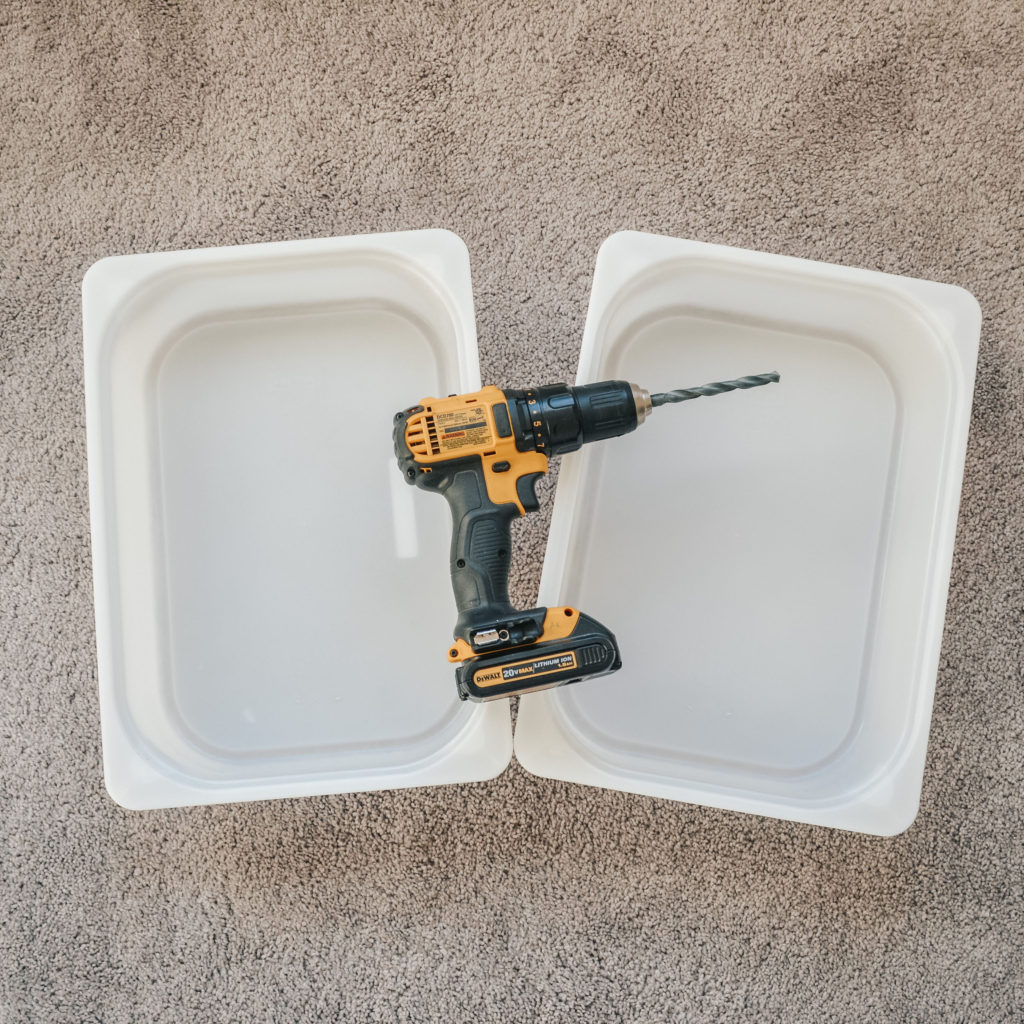
- 2 Large Trofast Bins
- Drill with 5/8” drill bit
- LED light strip
- LED connector kit
- Clear Acrylic Sheet or Ribba Picture Frame
- Frosted Spray Paint
DIRECTIONS
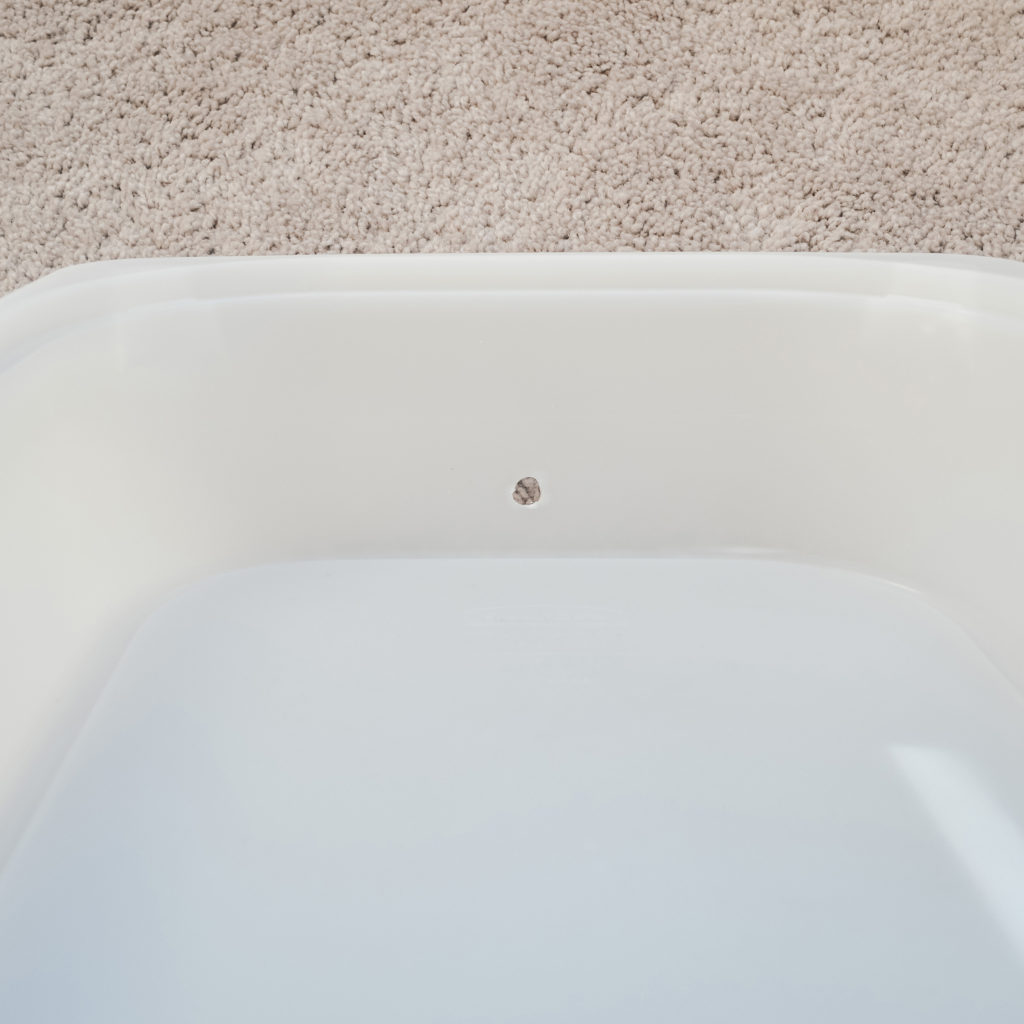
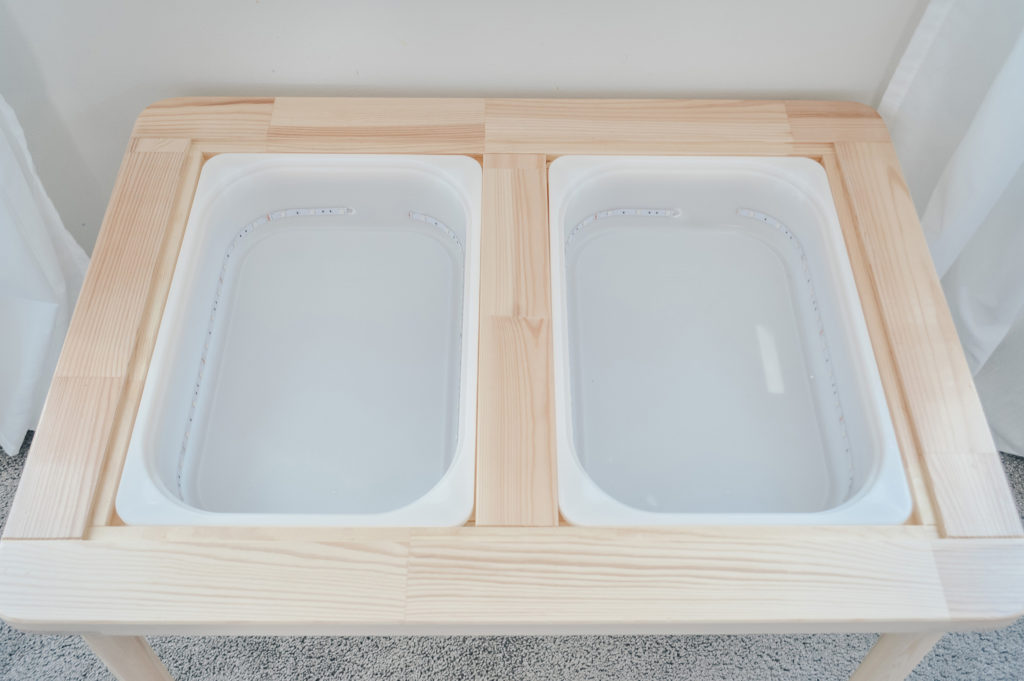
To start, drill a 5/8″ hole in one end of each Trofast bin, approximately 1” from the bottom. Clean the inside and the bin and wipe down with rubbing alcohol (soap and water will do if you don’t have rubbing alcohol) and let dry.
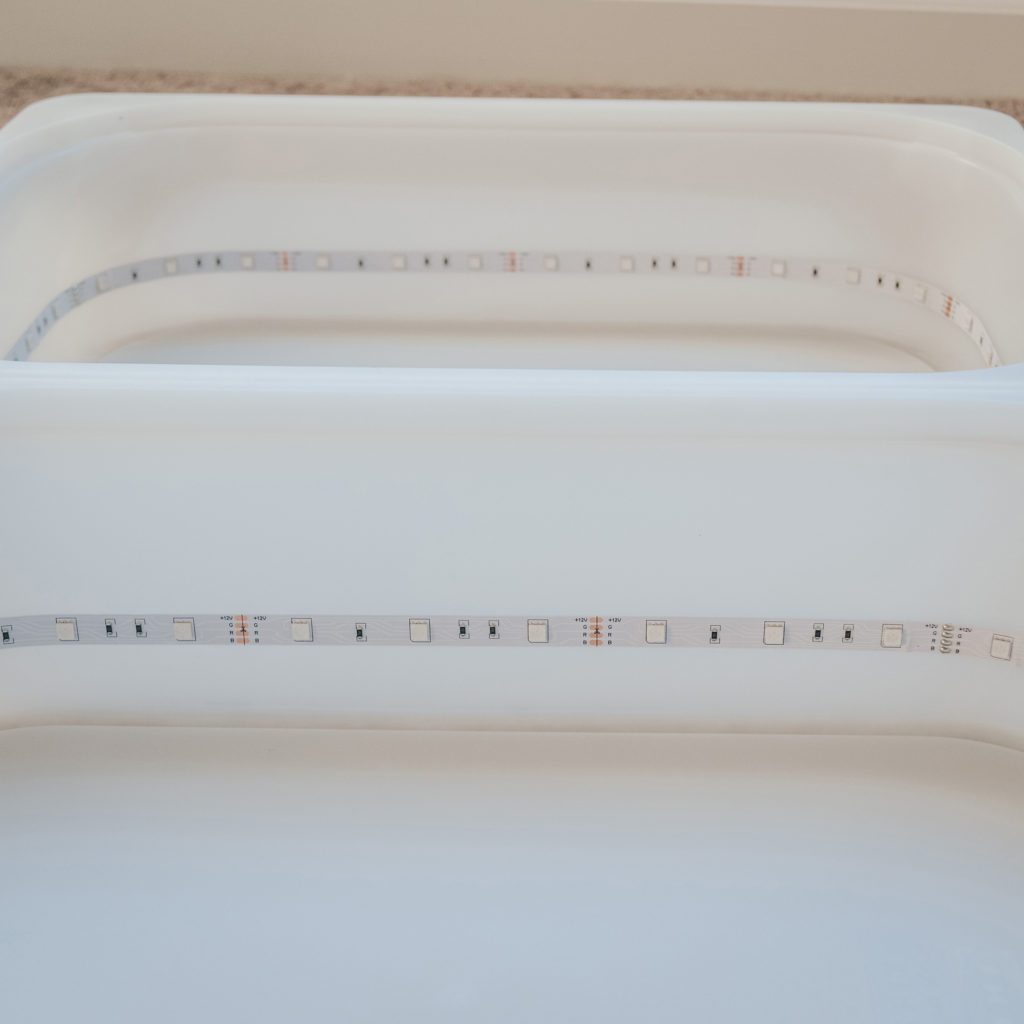
Now, take the LED strip and dry fit it (so don’t remove the backing) around the inside of the Trofast bin, starting at the hole you just drilled. Cut it on the marked line (which is every 3 lights, and indicated by the orange dots) that is closest to the hole on the other side, without overlapping the two pieces. Don’t worry if the ends don’t touch, as long as they’re within 2-3″ of each other, you should be fine.
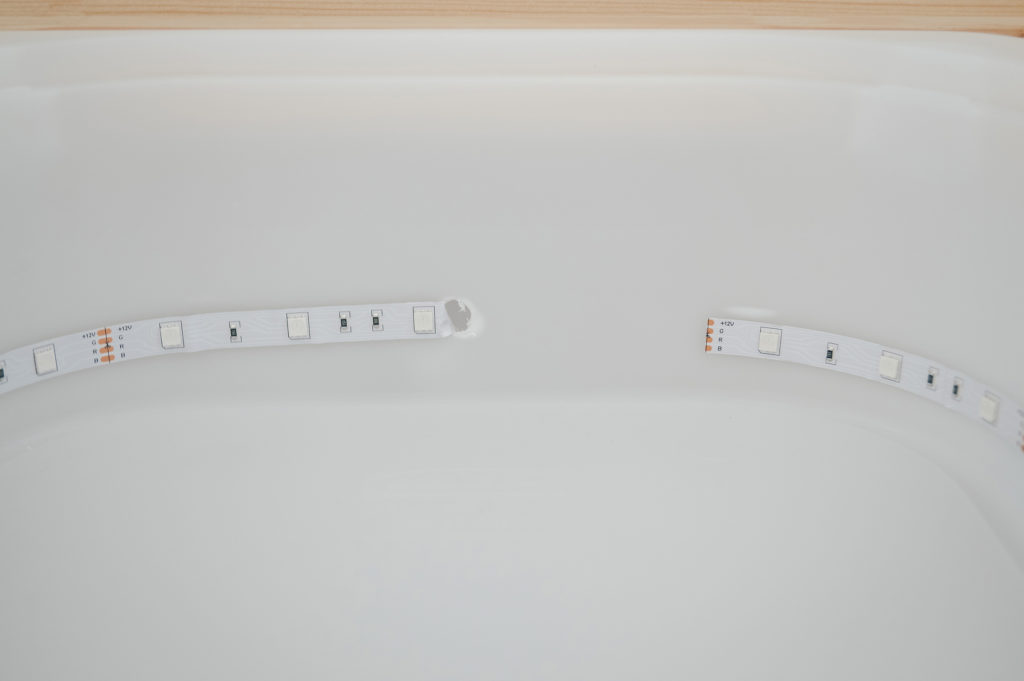
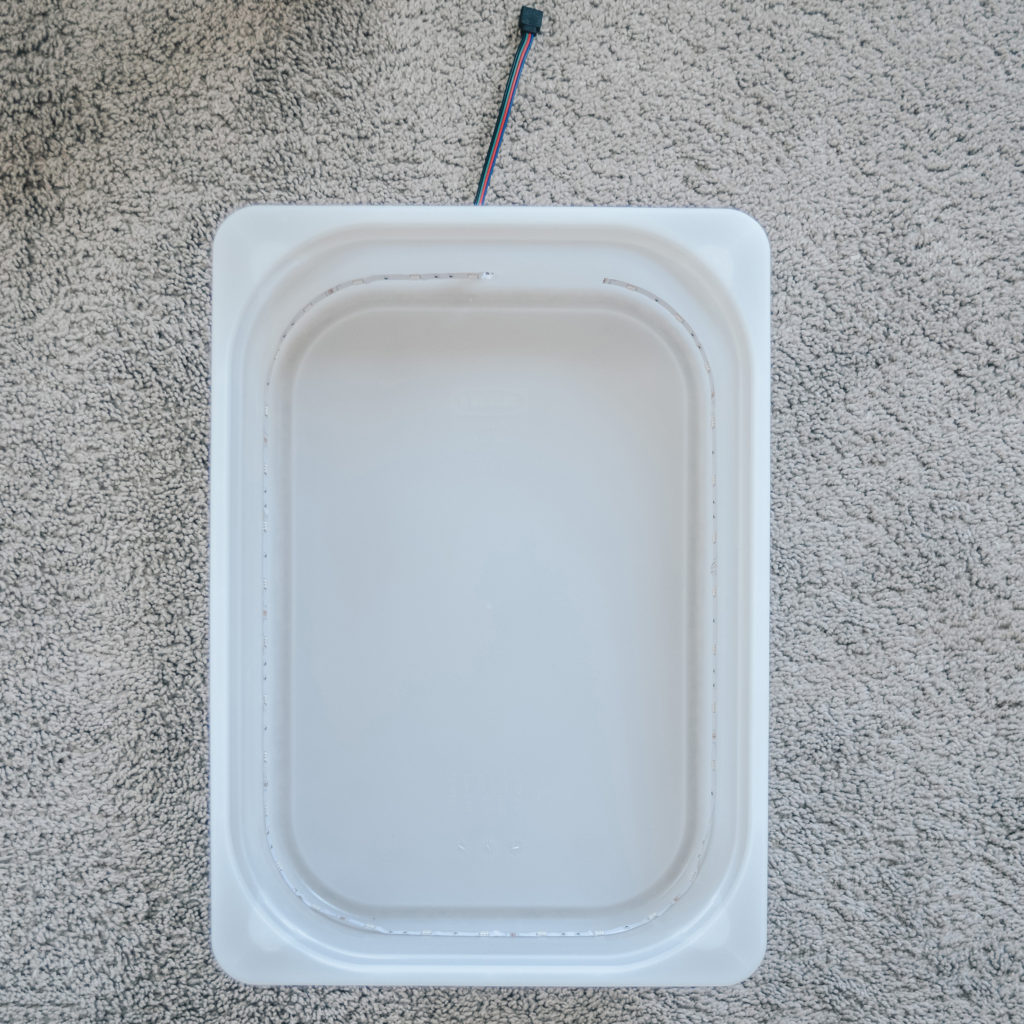
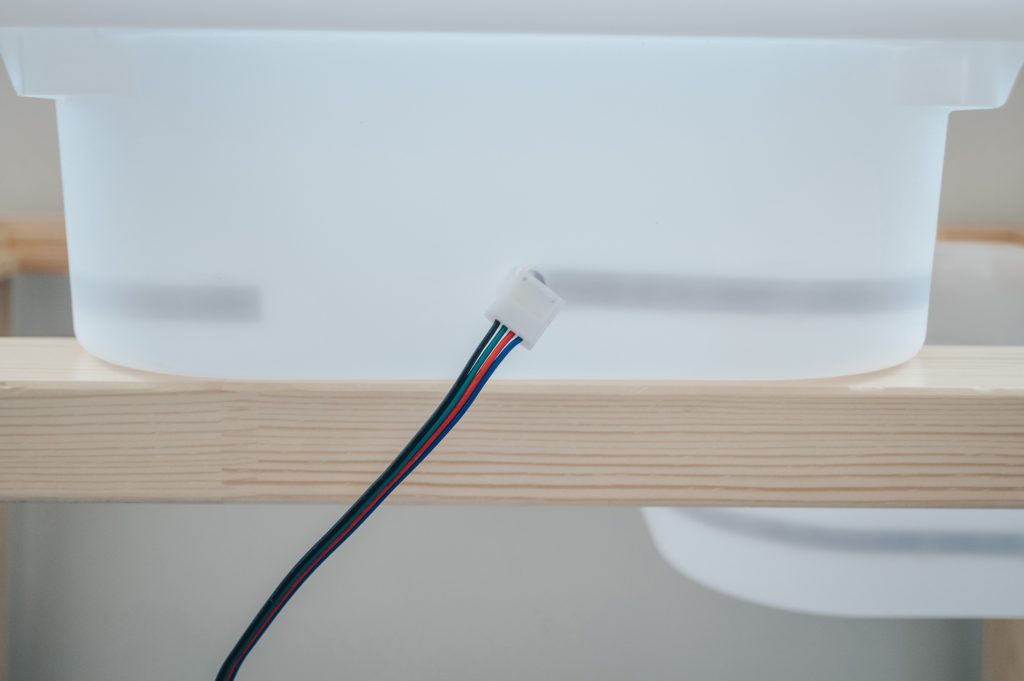
From here, thread the end of the LED strip you just cut, through the hole going from the outside of the bin, in. Pull it all the way through until you get to the first light before the connection piece. Now carefully remove the backing of the LED strip, starting at the connection and moving towards the cut end. Remove 2-3″ of backing at a time, and gently stick the LED strip to the inside of the Trofast bin, about 1″ from the bottom. Try and keep it as straight as possible. Once the whole strip is stuck down, press it more firmly in place. Congratulations, your first bin is complete!
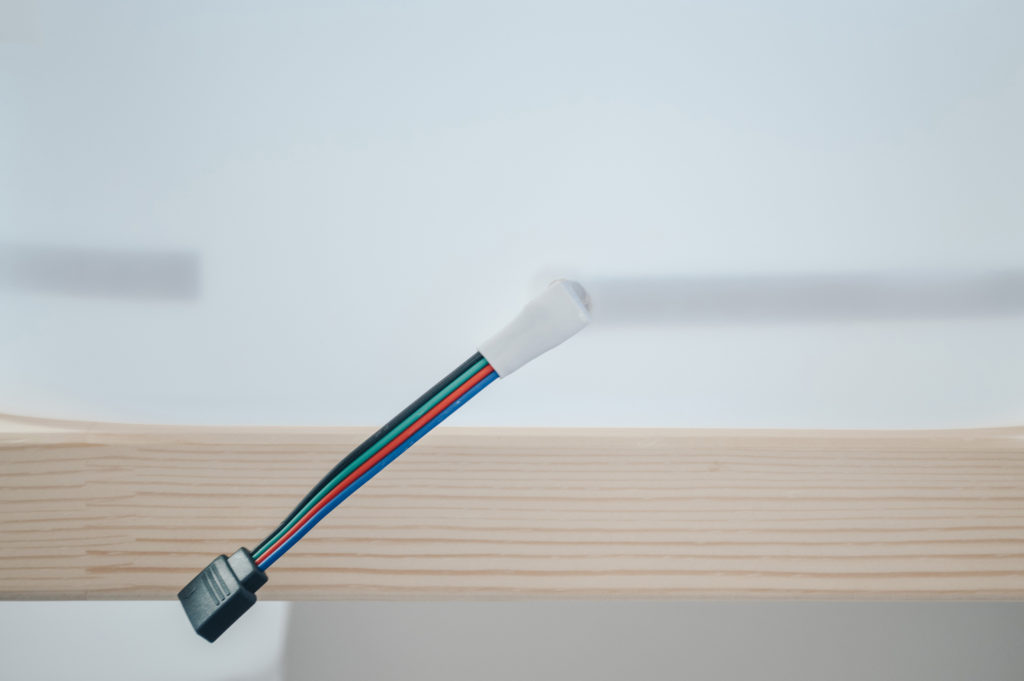
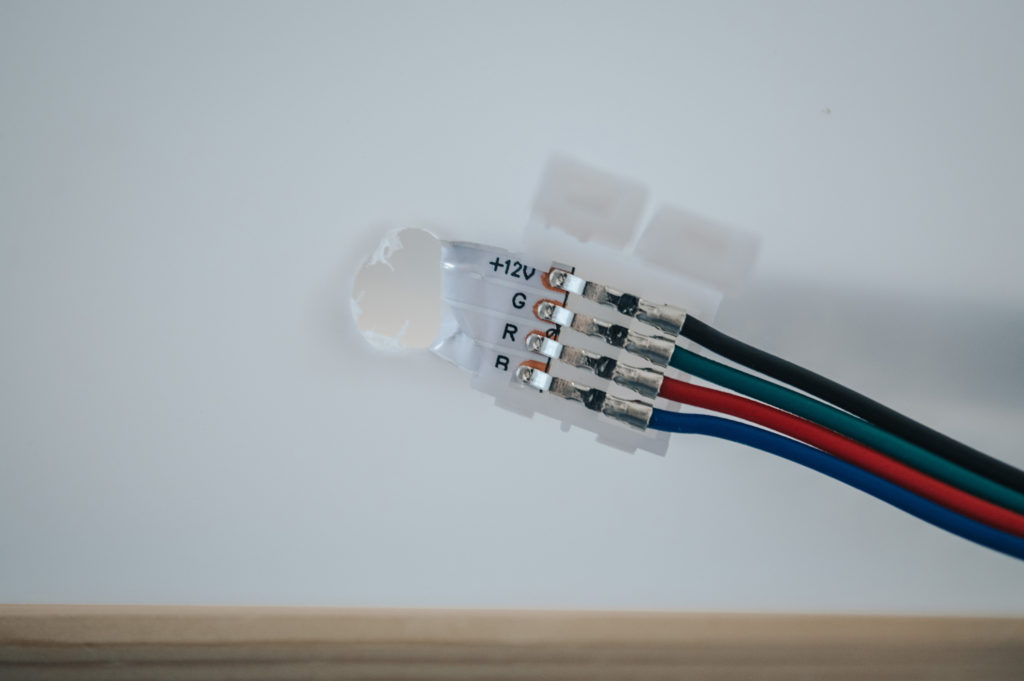
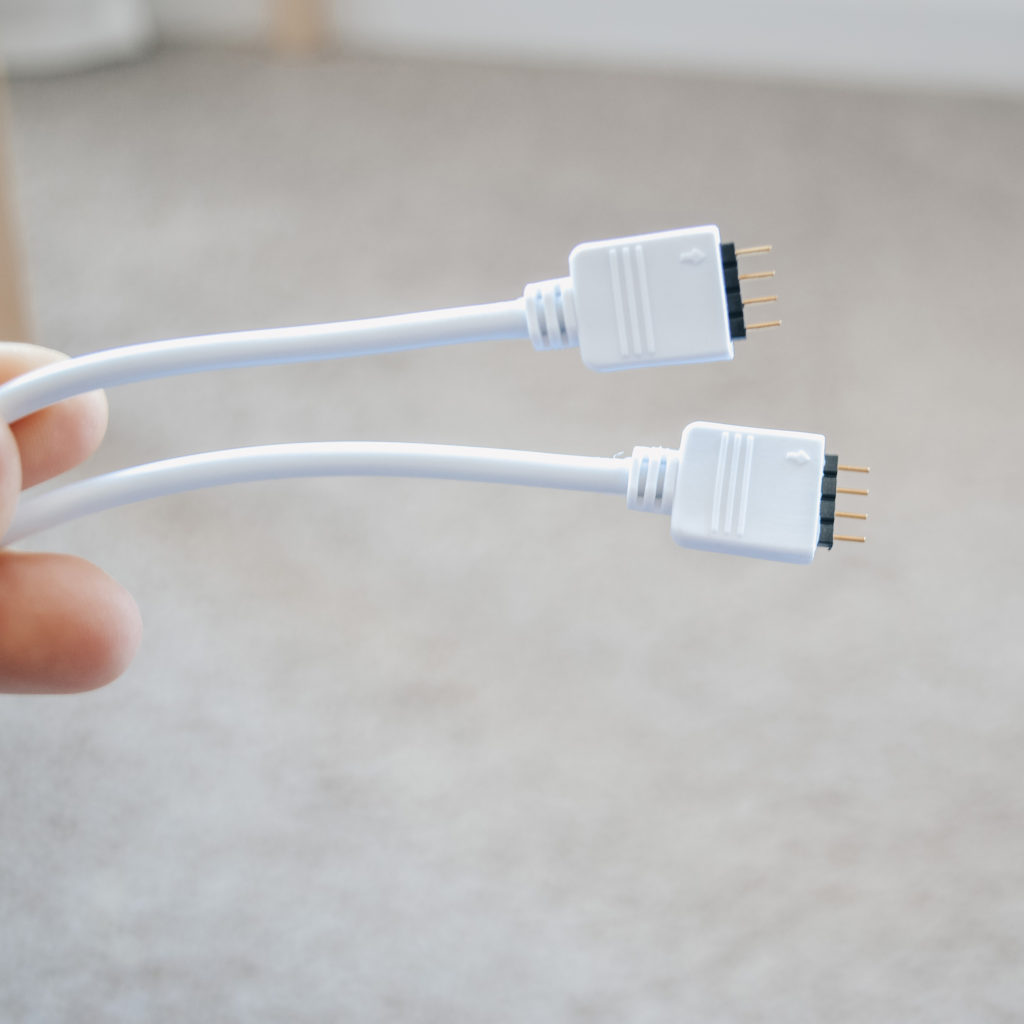
For the second bin, you are going to need to attach an LED connector strip to the end that you cut. Pick the one that is white on one end and black with the 4 prong connector on the other. Open up the two white tabs, line up the wires with the correct color on LED strip (Black, Green, Red, Blue), and remove a small section of the backing. You can pull the metal tabs up a little if you’re having trouble sliding the strip underneath them, just make sure to firmly press them back down when you’re finished. Once they’re in place, close the white tabs to complete the hook up.
Once again, dry fit the LED strip around the inside of the Trofast bin, and cut it as close to the opposite end as the strip will allow (remember you can ONLY cut the strip at the marked spots or it won’t work) without overlapping. Feed that end through your hole from the outside in and then gently attach the LED strip to the inside of the bin like you did with the first one. When you get to the end, press everything down firmly. Bin 2 is now complete!
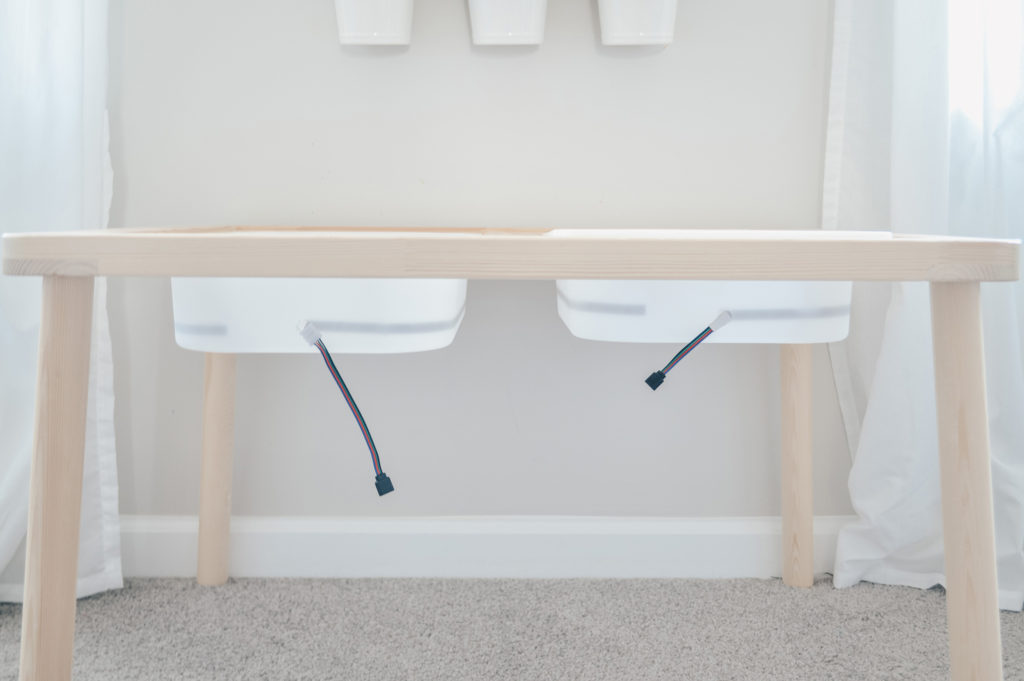
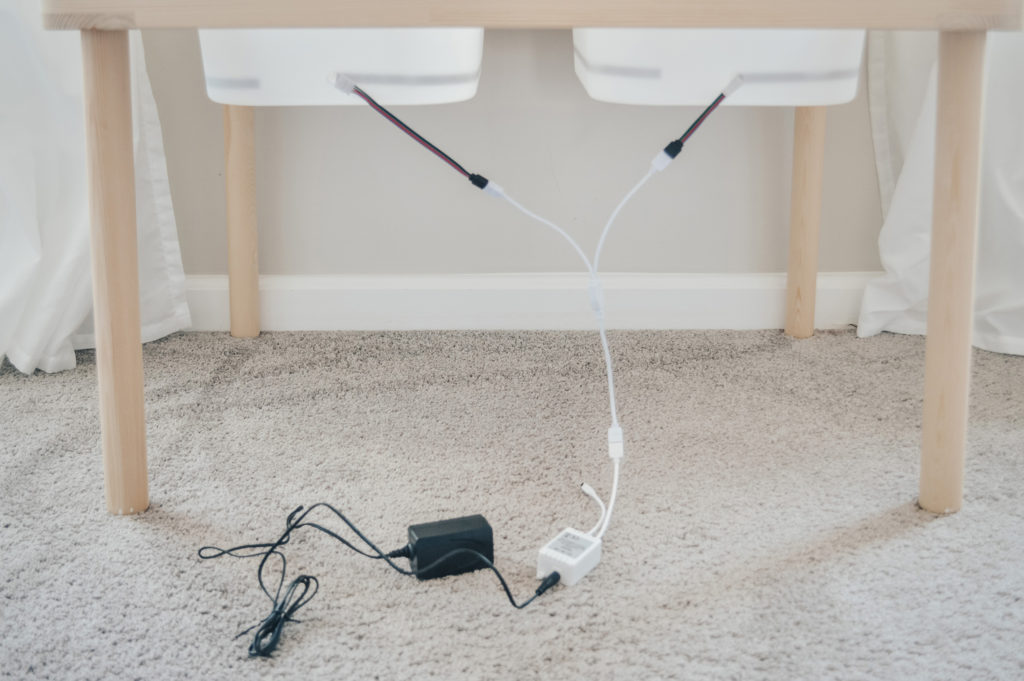
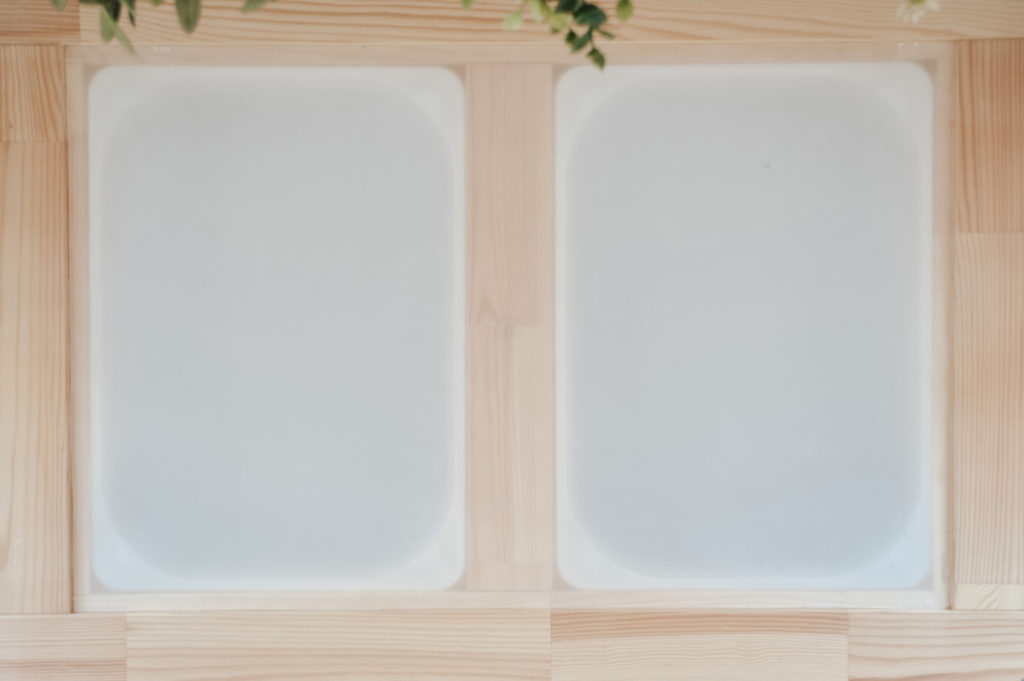
Now to connect everything to the electrical outlet. First place the bins into the Flisat table with the connection hookups on the same side. Add one of the 4 pronged attachment pieces into the connector strip if there isn’t one. Next, take the two black ends and connect them into the white splitter making sure that the arrows on both the black piece and the white splitter are lined up together. Plug the 3rd end of the splitter into the white Control Center piece, adding a 4 prong attachment if necessary. Lastly, hook the Control Center into the Power adaptor and plug into the wall. Use the remote control to turn on the lights. Both bins should now be lit up. If they’re not, double check that you’ve attached all the connections in the right order (with the arrows lining up).
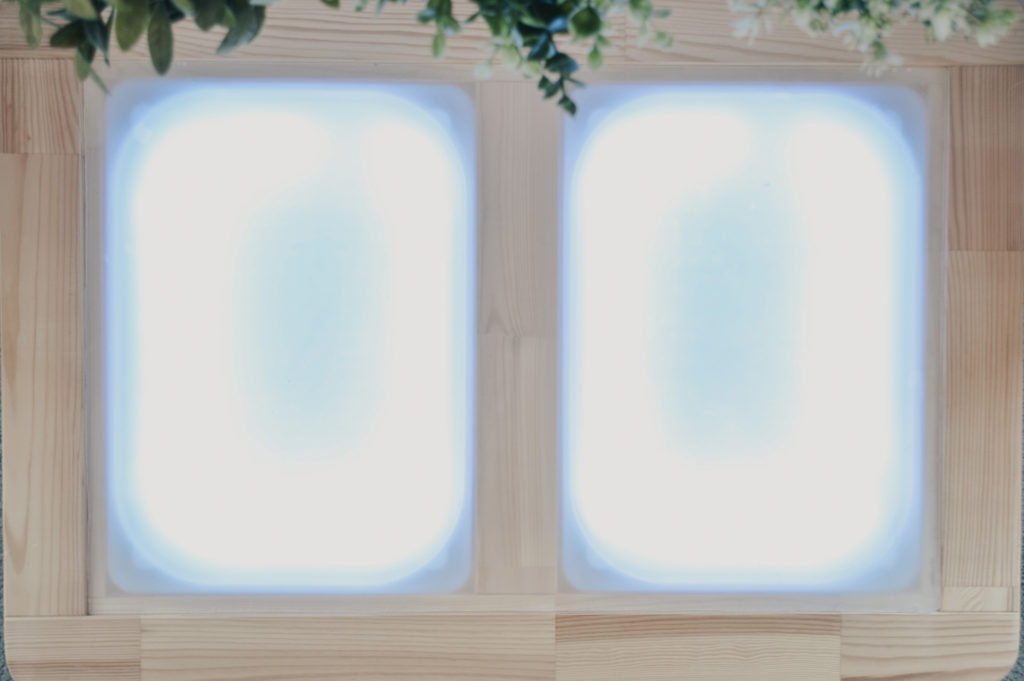
The very last thing you will need to do is make the frosted top that goes over the bins and turns it into a table. I used the clear acrylic from an Ikea Ribba 20″ x 28″ frame and just cut it down to size using a good pair of scissors. Be mindful of the fact that this acrylic isn’t the strongest, and is more likely to crack while cutting, or if your kid decides to get super rough while playing. Another (and probably better option) is to go to Lowes and buy a sheet of clear acrylic. While at the store, have them cut the piece to 27 7/16″ x 17 9/16″ (they should do this free of charge). If your sheet has a clear film on it without any markings. You’re done. Just take it home and pop it in the table. Otherwise, you can buy a can of frosted spray paint and spray both side of the acrylic sheet; letting the first side complete dry before flipping it over to do the second. This step helps protect the eyes of the person playing with the light table, so I personally wouldn’t recommend skipping it.
And there you have it, your very own light table. Remember, a light table works best in a dark room, away from windows and natural light. These particular LED lights also have a dimmer, which allows you to adjust the brightness (and color) of the lights depending on the brightness of your room.
When you are finished playing, remove the Acrylic sheet and then place the splitter, control center, and the power adaptor into one of the Trofast bins along with the remote control. Remove both bins from the Flisat table, stack them, and store everything until the next time you wish to use the table.
I’d love to see it how your table turns out; so don’t forget to tag me over on instagram.
Happy Playing friends!